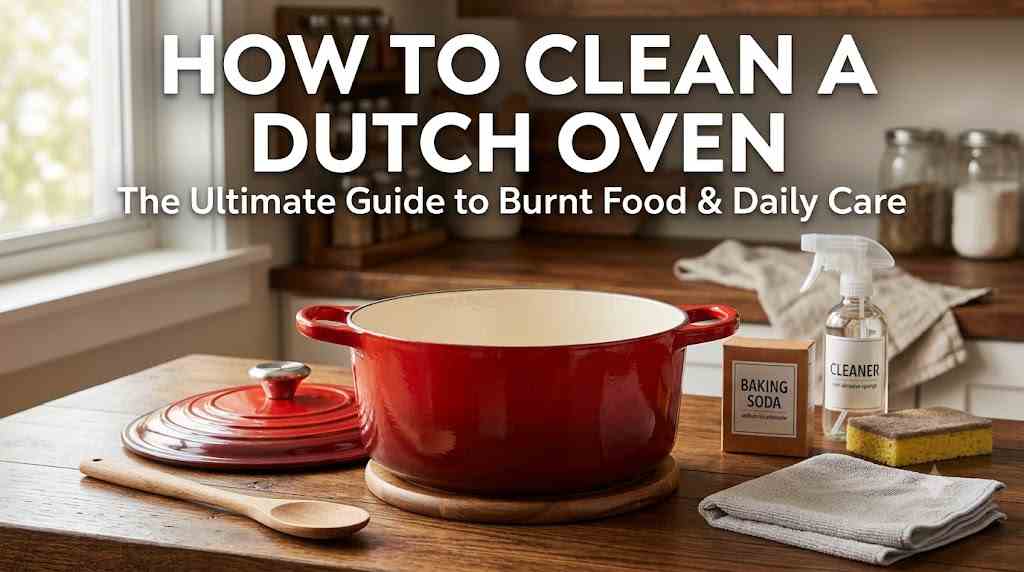
Quick Answer: To clean a Dutch oven with burnt-on food, fill it with 4 cups of water and 2 tablespoons of baking soda. Bring the solution to a boil over medium heat, simmer for 5 minutes, and gently scrape off residue with a wooden spoon. Dump the liquid, rinse with warm soap and water, and towel dry immediately.
A Dutch oven is considered the crown jewel of kitchen appliances. Whether you depend on a classic enameled cast iron piece, a rugged unenameled campfire pot, or a heavy-duty stainless steel hybrid, a Dutch oven is versatile enough to meet your needs. The kitchen appliance is made to handle everything virtually. If you are cooking a slow-simmered beef bourguignon, artisan sourdough on high heat, searing, or deep-frying, the pot will take a heavy beating between meal preparations.
However, once you bake, braise, or fry anything, you are then left with a dirty pot full of remaining food particles, dark grease, and stains. Since this high-end cookware is considered an investment and used by generations, using it in the wrong way can ruin its surface, whether it’s by a crack or strip of hard-earned seasoning on raw cast iron.
When you learn about how to clean a Dutch oven properly, it will protect the product and make sure you cook food with the right technique every time. In this article, we will discuss everything from daily wash routines to science-backed methods to clean the Dutch oven.
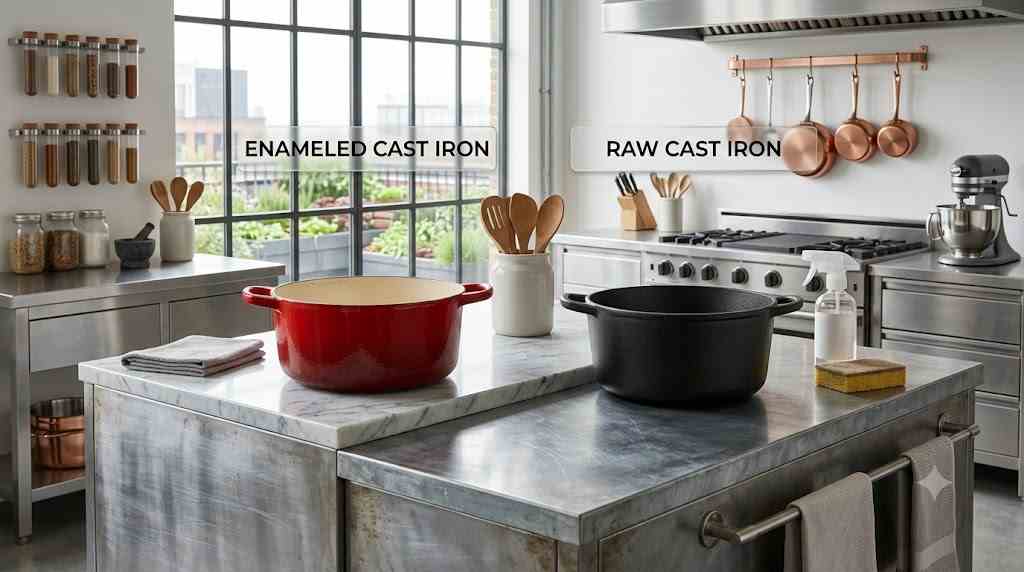
Understanding Your Dutch Oven’s Finish: Enameled vs. Raw Cast Iron
Before going for a cleaning process or using any cleaning agent or abrasive tool, you need to know what the material and coating you pot have are because if you treat an enameled-based one like raw cast iron, it can damage the pot entirely.
1. Enameled Cast Iron
This type of pot comes with a smooth coating of vitreous enamel, a glass-like powder fused to an iron base at high heat. This process makes the surface non-porous and non-reactive, so you don’t need any seasoning, and it can handle acidic ingredients like tomatoes, wine, vinegar, and citrus juices easily.
You need to treat enamel like glass, meaning avoid the use of metal scrubbers, as they lead to scratching, etching, or dulling the glossy finish.
2. Raw (Unenameled) Cast Iron
Raw pots can be destroyed by seasoning, which is also known as polymerized layers of oil. These raw ones are rustic, durable, and heat resistant, which is why they are popular for flame cooking, grilling, and camping trips.
You need to protect the seasoning layer because water or high humidity are its biggest enemies; when the surface gets moisture, it leads to surface rust.
Standard Daily Cleaning for Enameled Dutch Ovens
For daily cleaning where there is only light food residue and nothing has scorched at the bottom, you can just use the following techniques to wash it and keep cookware safe for a long time.
Never add cold water to a hot pot, and don’t put a warm Dutch oven into a sink that is full of cold water because enameled-based ones expand when heated and contract when cooled, so the sudden change in temperature can cause thermal shock that results in hairline cracks and also cause large pieces of porcelain to go away from the iron core.
Step-by-Step Daily Washing Process:
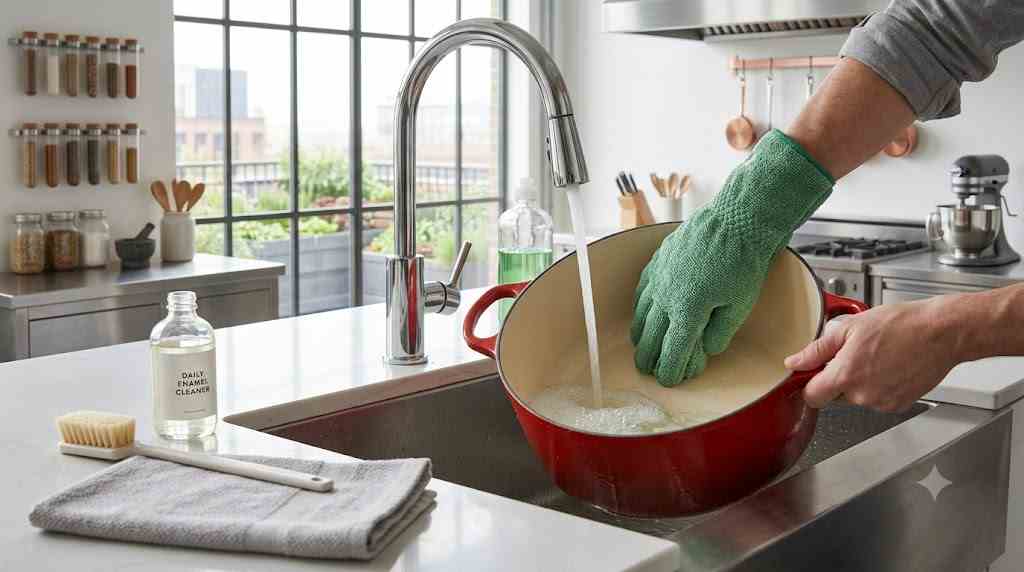
To avoid harm to cookware on a daily basis, first set the hot cooker on a heated stovetop burner and let it come to room temperature, which it will in 20 minutes.
Once it became normal, fill it with tap water and add 4 drops of mild liquid dish soap. Let it sit for 10 minutes so it dissolves the surface fats and softens the light food particles that occur after cooking.
Wash it on both inside and outside surfaces by using a soft cloth or gentle sponge; avoid scrubbers. Pay attention to the rim, as grease often takes place in such areas.
Rinse thoroughly so all the soap residue washes away by using warm running water.
Use a cotton kitchen towel to dry the pot and leave the cookware on the rack so the remaining water drops, which are also a cause of small rust spots over time, can evaporate.
Deep Cleaning Heavy Burnt-On Food (5 Tested Methods)
When cooking isn’t your favorite or when heat turns the stew into a crust at the bottom of the pot, don’t use scrubbing to remove it, as it will lead to scratched enamel. Instead, go for a simple chemical and thermal reaction to remove this burnt carbon.
The key to learning how to clean a Dutch oven after a food burn and cause crust is picking the right method. The following are the 5 famous cleaning methods from most effective to least effective.
Method 1: The Baking Soda & Boiling Water Simmer (The #1 Overall Winner)
This one is considered the golden standard method for restoring the scorched enameled cookware. You don’t need any harsh chemicals, backbreaking physical labor, or scrubbing to lift burnt food. You just need water, baking soda, a wooden spoon, or a silicone scraper. It takes just 15 minutes to clean.
Now you may think, how do these ingredients work? Well, baking soda is an alkali. When it gets dissolved in hot water, the heat increases its alkali, which helps in breaking the acidic, burnt organic compounds such as proteins, sugars, and fats. The water loosened the crust and lifted the crust off without causing any scratches.
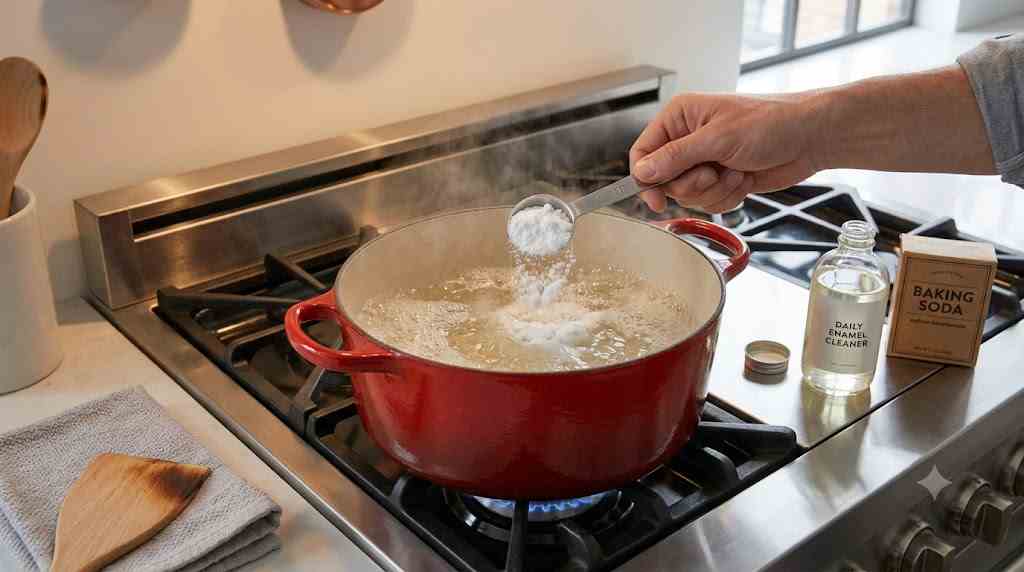
1. Add Water and Baking Soda: Add 4 to 6 cups of water in a dirty pot, then add 2 to 3 tablespoons of baking soda and stir it until it is dissolved.
2. Bring to a Rolling Boil: Place the pot on the stovetop at medium heat and bring it to a full boil. Once water heats the baking soda, it will cause bubbles.
3. Scrape Gently with a Wooden Spoon: Once it is boiled, lower the heat and take a flat wooden spoon and gently scrape the burnt bottom. You will see the food crust is coming out easily, and the water will turn dark brown.
4. Dump, Rinse, and Dry: Turn off the burner and pour the murky water into the drain, and then let the pot cool down. Rinse with warm water and dish soap, then dry the cookware with a towel.
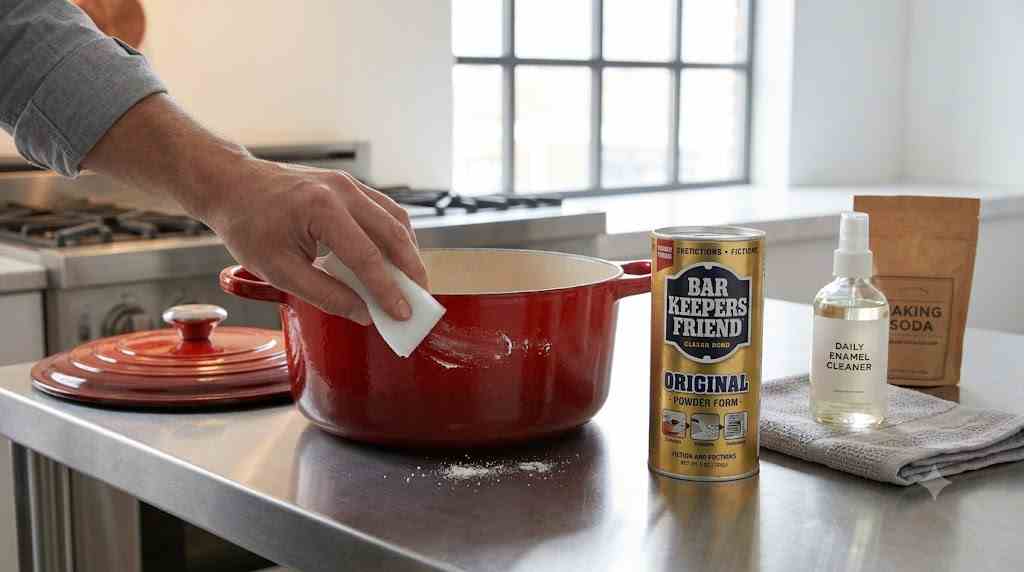
Method 2: Bar Keepers Friend (Best for Exterior Grease & Stubborn Residue)
It is the best cleaning product for high-end kitchenware because it lifts the cooked-on grease from the pots’ exteriors and stains that occur around interior walls. This method just takes 20 minutes, and all you need is Bar Keepers Friend, a non-abrasive sponge, and water.
Do you have a question in mind about how it works? Well, it’s not like other chlorine cleaners; Bar Keepers Friend utilizes oxalic acid, which is a natural compound that binds heavy metal ions, minerals, and carbonized oil deposits at a molecular level. It dissolves the buildup without the need for scratching.
Steps to follow:
First wet the cookware from outside and inside with the help of warm water, then sprinkle Bar Keepers Friend powder onto the areas that are burnt or stained. Dampen a sponge that is non-scratch and start rubbing the powder across the pot’s surface.
For fewer stains, scrub the surface for just 2 minutes. If there is severe baked grease at the bottom, let the paste stay on it for 2 minutes.
Lastly, rinse it with warm water and wash it with liquid dish soap, then dry it completely.
Method 3: Baking Soda + Hydrogen Peroxide (Best for Stains & Yellowing)
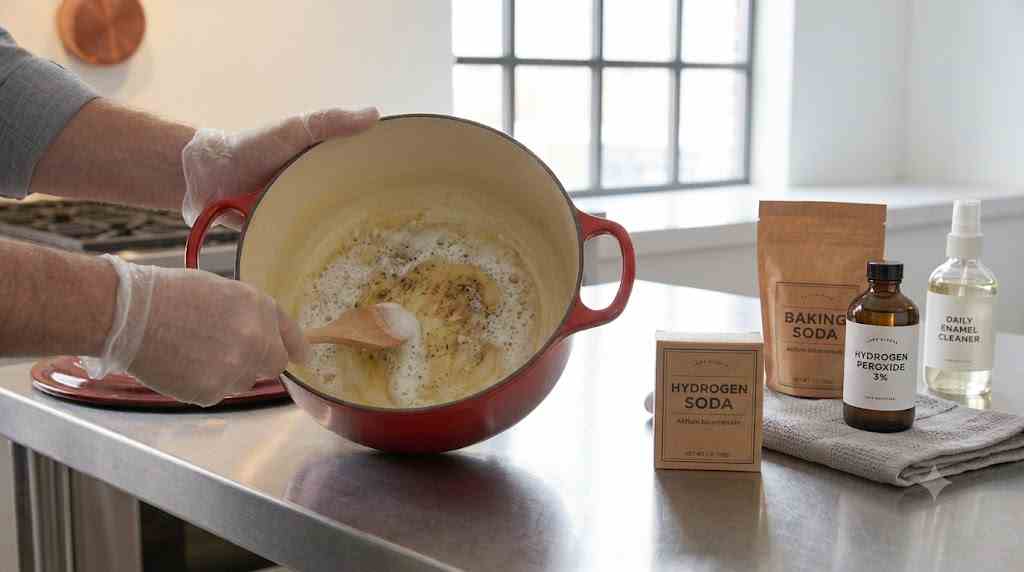
If your pot doesn’t have any heavy food chunks but it has a yellow or brown tint on the interior glaze, you need this method because it works like a gentle bleach. All you need is 3% household hydrogen peroxide and baking soda.
Steps to follow:
First pour 1/2 inch of hydrogen peroxide in the pot bottom, then add 1/4 cup of baking soda and stir until it forms a loose and liquid slurry. Place the lid on the pot and put it on low heat at the stovetop; this will allow the peroxide to form bubbles and break the organic pigment. Let it simmer covered for 15 minutes and remove from the stovetop. Let it cool and wipe the interior with the help of a soft sponge. Lastly, rinse with warm water and dry.
Method 4: Coarse Salt & Fresh Lemon Scrub (Best Natural Spot Treatment)
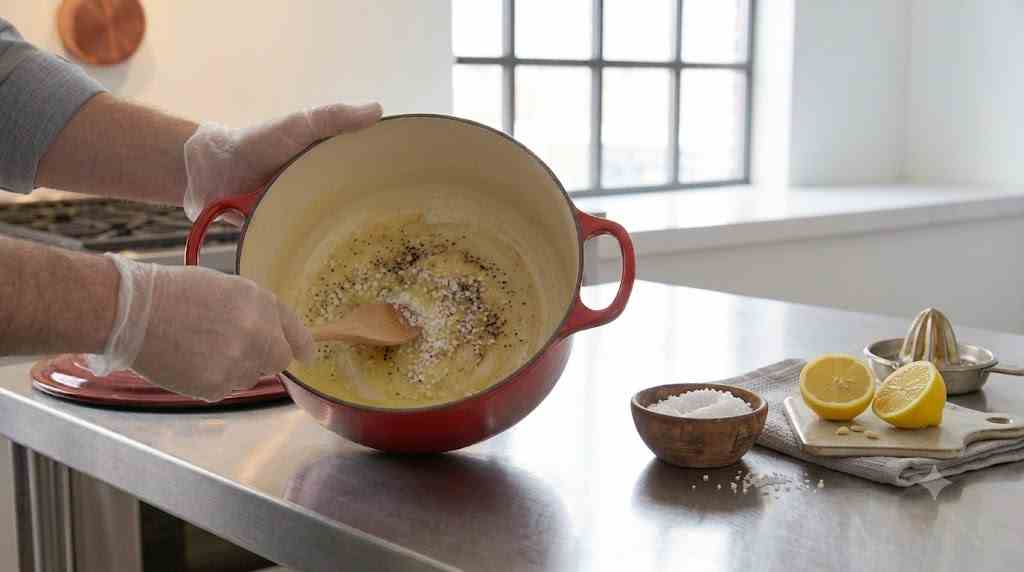
If there is only minor scorching or grease in the pot, then you just need an all-natural solution that is based on basic items that are easy to find at home, like lemons and coarse salt. This method just takes 5 minutes; all you need is 1 large lemon and 3 to 4 tbsp of coarse kosher salt.
Steps to follow:
First let the pot cool completely, then sprinkle a layer of kosher salt on the bottom of the pan and add and slice a lemon in half. Use a cut lemon as a scrubbing pad; it will work with salt easily.
Lemons have citric acid, which helps in softening the grease, whereas coarse salt works as a mechanical abrasive, which has no damage. Rinse the pot with warm water and dry immediately.
Method 5: Toothpaste Scrub (Best for Small Crevices & Corner Stains)
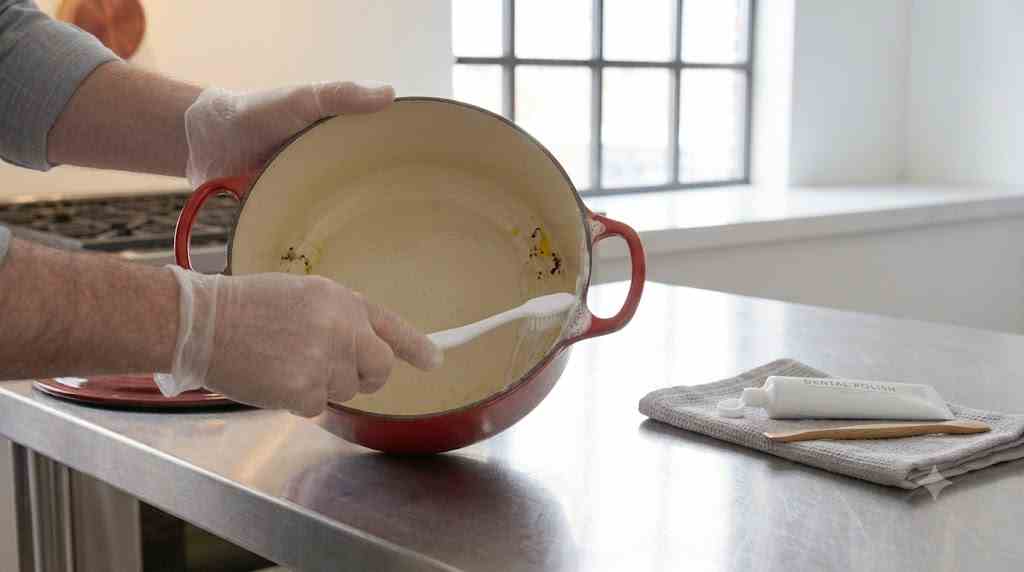
Toothpaste has baking soda or silica, which works as a polishing paste for small areas that are hard to reach, like handles, rim edges, or small interior corner stains. All you need is standard white toothpaste and a soft-bristled toothbrush.
Steps to follow:
First apply a thin layer of toothpaste on corner stains or stained handle joints. Let it sit for 2 hours until the paste dries. Add a small amount of water and scrub gently with the help of a soft toothbrush. Wash it completely with soap and water and dry it with a cloth.
Comparison Table: Which Cleaning Method Should You Use?
| Mess & Method | Key Ingredients | Effectiveness & Time |
|---|---|---|
| Heavy Scorched Carbon Baking Soda Simmer | Baking Soda + Water | Score: 5 / 5 (Best Overall) Time: 15 Mins |
| Baked-On Exterior Oil Bar Keepers Friend | Oxalic Acid Paste | Score: 4.5 / 5 Time: 10–20 Mins |
| Discolored / Yellow Enamel Peroxide & Baking Soda | Hydrogen Peroxide + Baking Soda | Score: 4.5 / 5 Time: 20 Mins |
| Minor Light Residue Lemon & Kosher Salt | Citric Acid + Salt | Score: 3.5 / 5 Time: 5 Mins |
| Localized Corner Stains Toothpaste Spot Method | Silica/Baking Soda Paste | Score: 3 / 5 Time: 2 Hours |
How to Clean Raw (Unenameled) Cast Iron Dutch Ovens
Now we know how to clean a Dutch oven that is made from enameled cast iron; it’s time to learn how to clean an unenameled cast iron one, as the cleaning for both is completely different.
Bare cast iron is based on a thin layer of oil that protects the raw iron from rust while giving a natural, non-stick cooking barrier. There are three rules of raw cast iron you need to follow: one is no prolonged soaking in water, as it can lead to rust; no use of a dishwasher; and last is ALWAYS HEAT-DRY and lightly re-oil after every wash.
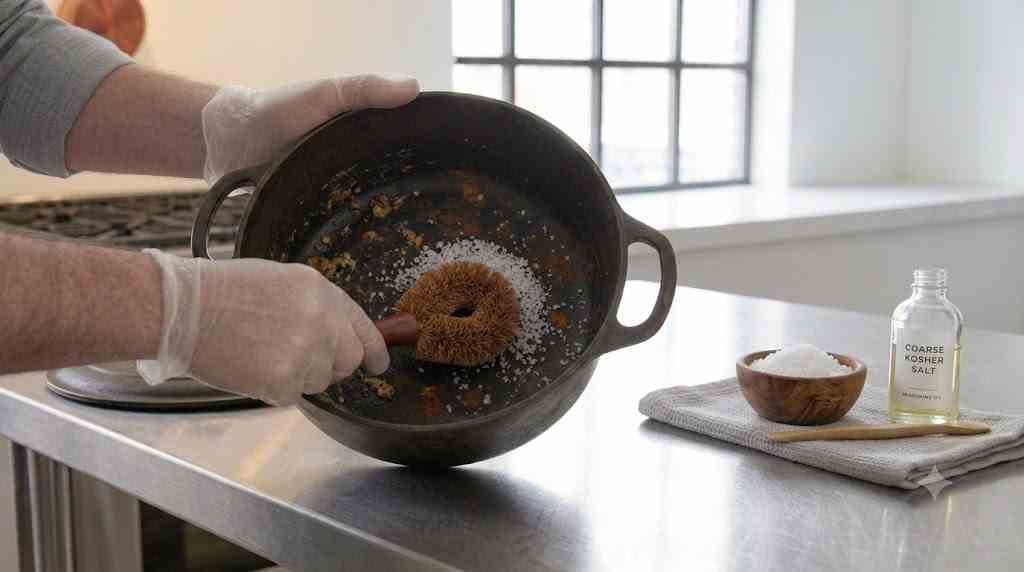
The Kosher Salt Scrub Method for Raw Iron
When the pot is warm, you can use a wooden scraper to remove large food particles and then add 2 to 3 tbsp of coarse kosher salt to the pot bottom. Use a folded paper towel or stiff nylon brush to scrub the salt on the surface. The salt crystal will remove stuck food bites without stripping the seasoning layer.
Rinse the salt and food waste with the help of hot to warm water. Avoid using dish soap; if you still want to use it, just go for 1 drop only.
Wipe the pot with a towel, then place it on a low stovetop burner for 3 minutes; this heat will remove the moisture.
Let the pot warm, and then apply 1/2 teaspoon of high-smoke-point oil like canola, vegetable, or grapeseed oil on the interior. Then rub it with a paper towel until it looks glossy, not wet.
Critical Cleaning Mistakes That Can Destroy Your Cookware
When we clean the cookware, there are some mistakes we don’t realize can damage the product, so make sure you avoid these 6 mistakes.
1. Using Metal Utensils or Wire Scouring Pads
Never use steel wool, copper scouring pads, metal spatulas, or knives in the enamelled pot, as steel is hard and can scrape the metal in the pot, leading to micro scratches that ruin the smooth surface
2. Putting the Pot in the Dishwasher
Even if the product claims the enameled cookware is safe, it is still best to avoid cleaning it, as harsh dishwasher detergent can dull the enamel glaze from time to time, leading to a matte, chalky finish that is prone to staining. The humidity of a dishwasher can cause rust too.
3. Subjecting the Pot to Thermal Shock
Never place a hot pot in a cold sink or a cold pot on a high gas burner because it can cause thermal shock, leading to cracking or warping heavy cast iron.
4. Using Caustic Oven Cleaners or Chlorine Bleach
Strong oven cleaners, such as Easy-Off, with their sodium hydroxide content, or undiluted bleach, will remove the shine from enameled iron and leave it porous, dulled, and discolored.
5. Storing Cookware While wet
Avoid placing a wet Dutch oven, as it traps the moisture inside, leading to mold growth on the food particles that remain or rust.
6. Heating an Empty Pot Dry Over a High Flame
Avoid preheating the enameled Dutch oven without the use of oil, butter, or liquid, as it can cause the metal base to expand, leading to cracking, popping, or crazing instantly.
Safe vs. Unsafe Cleaning Tools
| Tool / Cleaning Agent | Compatibility Check | Why It Matters / Risks |
|---|---|---|
| Soft Sponge / Microfiber | Enameled: Safe Raw Cast Iron: Safe | Cleans gentle oils and residues without harming glaze or seasoning. |
| Wooden Spoon / Silicone Scraper | Enameled: Safe Raw Cast Iron: Safe | Ideal for lifting burnt carbon off the bottom without scratching. |
| Non-Scratch Nylon Pad | Enameled: Safe Raw Cast Iron: Safe | Provides gentle friction for light, stubborn spots. |
| Coarse Kosher Salt | Enameled: Safe (Gentle) Raw Cast Iron: Recommended | Excellent natural abrasive for raw iron; soft enough for enamel. |
| Steel Wool / Chainmail | Enameled: NEVER USE Raw Cast Iron: Safe (Chainmail) | Scratches porcelain glaze permanently; destroys smooth enamel finish. |
| Bar Keepers Friend (BKF) | Enameled: Safe (Max 2m) Raw Cast Iron: NEVER USE | Oxalic acid lifts enamel stains; strips seasoning off raw iron instantly. |
| Chlorine Bleach / Oven Spray | Enameled: NEVER USE Raw Cast Iron: NEVER USE | Strips gloss sheen off enamel; corrodes raw iron metal underneath. |
| Dishwasher Cycles | Enameled: NEVER USE Raw Cast Iron: NEVER USE | Dulls enamel glaze over time; induces instant rust on raw iron rims. |
Long-Term Maintenance & Storage
Now we understand how to clean and what 6 things you need to avoid with pots; it’s time to look for how to store them so you can prevent them from any harm and they can last a long time.
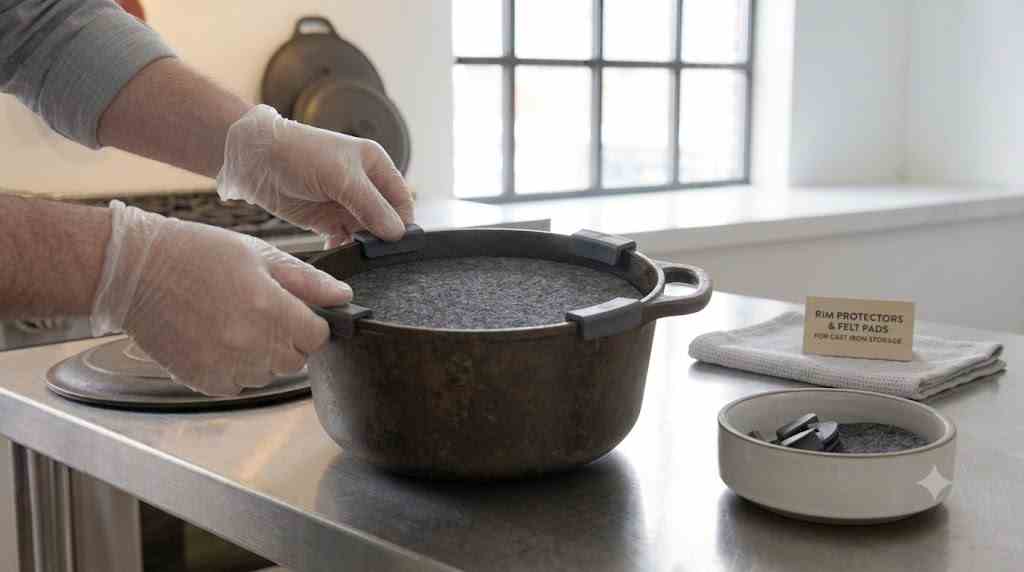
Use Rim Protectors: Enameled pots come with a small plastic clip that is attached to the rim. Keep these clips and place them on the rim before adding the lid; it will prevent enamel-on-enamel contact. However, if you don’t have these clips, you can also use a folded paper towel between the pot and lid.
Avoid Stacking Heavy Items: Add protective felt pads or a thick towel in the pot before adding any heavy metal pans or other Dutch ovens inside it. Never put these directly in a pot.
Cook over Medium Heat: Avoid cooking with these pots at high temperatures; always go for medium or low heat. This will help in reducing food scorch at the bottom.
Frequently Asked Questions
Q: How do I remove dark hairline cracks (crazing) on the bottom of my enamel?
These cracks are caused by thermal shock or high heating of a pot that is empty. These cracks cannot be repaired; however, the pot is safe to use. Stick to low heat and a gentle handwashing method for cleaning.
Q: What should I do if my enamel is chipped?
If the small chips are at the exterior of the pot, then wipe it with cooking oil after every wash; this will save the pot from rust. However, if the enamel is chipped inside the cooking area, then don’t cook with it, as it can mix with food and make the pot unsafe.
Q: Why is my enameled Dutch oven losing its shine and becoming dull?
Dulling takes place by using harsh dishwasher detergents, metal scouring pads, or acidic cleaners. In order to restore some luster, take a small drop of food-grade mineral oil or neutral cooking oil and rub it on the dull surface with the help of a cloth.
Q: Can I use vinegar to clean my Dutch oven?
Yes, you can use white vinegar with equal parts warm water to clean the mineral deposits, spots, and light grease from enameled surfaces. Just soak the pot surface in this solution for 15 minutes, then wash it with a soft sponge and rinse clean.
Q: How often should I re-season a raw cast-iron Dutch oven?
If you clean and oil the raw cast iron pot every time after you use it, then you don’t need a full oven re-seasoning. However, if the surface starts looking dull, grey, or sticky, or rust spots take place, then you can scrub the pot and wipe it with smoke-point oil and bake it upside down in a 450°F (230°C) oven for one hour to restore the hard coating.
Official References & Guidelines
To ensure safe, food-safe hygiene and protect your cookware’s structural integrity, the care instructions in this guide align with recommendations from leading agricultural extension programs and food safety authorities:
- USDA Food Safety and Inspection Service (FSIS): Advises that proper kitchen hygiene requires a two-step approach: washing away organic matter with warm, soapy water first before drying or sanitizing, preventing foodborne bacteria buildup in cookware crevices. (Source: USDA Clean THEN Sanitize Standards)
- CDC (Centers for Disease Control and Prevention): Recommends routine non-abrasive hand-washing with mild liquid detergents for food-contact surfaces to lift surface pathogens without eroding non-porous protective coatings like enamel. (Source: CDC Hygiene and Cleaning Guidelines)
- U.S. University Extension Services (Clemson University & Mississippi State University Extension): Recommends non-abrasive mechanics (such as kosher salt scrubs or baking soda boils) to preserve seasoning layers and enamel glazes, while strictly advising immediate thermal drying to prevent surface oxidation (rusting) on raw iron rims. (Sources: Clemson University Home & Garden Information Center | Mississippi State University Extension)
