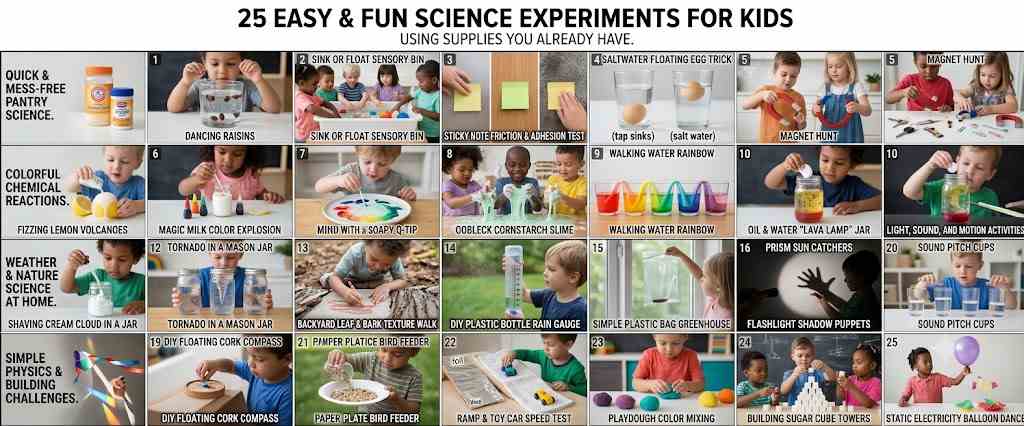
Discover 25 easy science experiments for kids using simple household items! From low-mess pantry chemistry and colorful reactions to fun physics challenges, these hands-on STEM activities spark curiosity, teach cause and effect, and fit perfectly into quick 5-to-15-minute home schedules.
If your kids are into science and get attracted by experiments, then you don’t need a fancy laboratory to do it or a degree in chemistry to make your preschooler excited about learning. Some basic and engaging science experiments for kids can easily be done in 5 minutes by using common items that are easily found at home.
When small preschool kids explore such experiments, they memorise the formulas; it also creates a curiosity among them, like ‘What happens if? Activities range from fizzing lemon volcanoes to dancing raisins. The simple activities break down real science principles into hands-on fun that kids love to do over and over.
Quick & Mess-Free Pantry Science (Under 5 Minutes)
Parents think they want special equipment and maybe a trip to a specialty store so kids learn the foundational STEM concepts. However, these five easy activities are based on simple items that are available in kitchen staples. These activities can be a perfect part of rainy days.
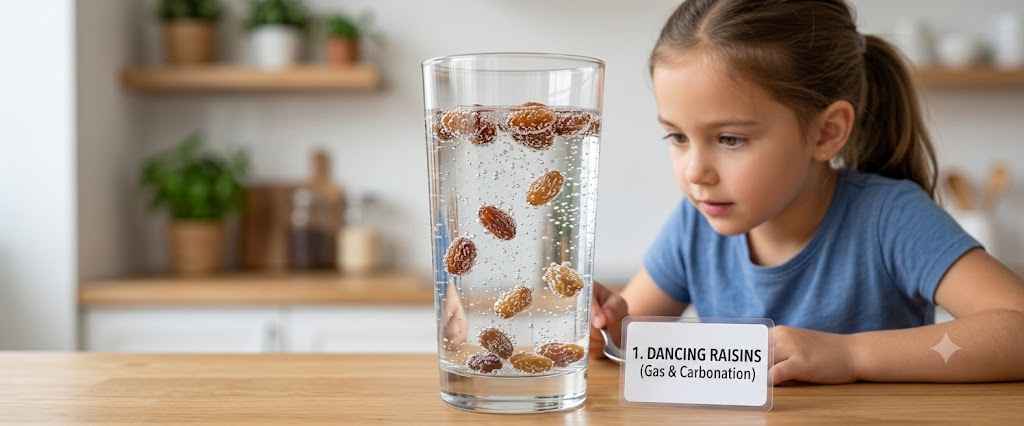
1. Dancing Raisins (Gas & Carbonation)
It takes just 2 minutes, and all you need is 1 clear glass, 1 bottle or can of clear seltzer or soda (unopened works best), and 4–5 fresh raisins.
How to Do It at Home
First take the glass and fill it three-quarters with fresh, fizzy, or carbonated water. Drop 4 to 5 raisins in it one by one. Watch it with kids first; the raisin will go down, gather bubbles, and float back to the top in a continuous “dancing” loop.
Ask Your Child: “What do you see sticking to the skin of the raisin right before it floats up?”
The Simple Science: Carbon dioxide gas bubbles in the soda are found at the surface of raisins. Once enough bubbles attach, the raisin comes to the top; when the bubble pops, the raisin goes down again.
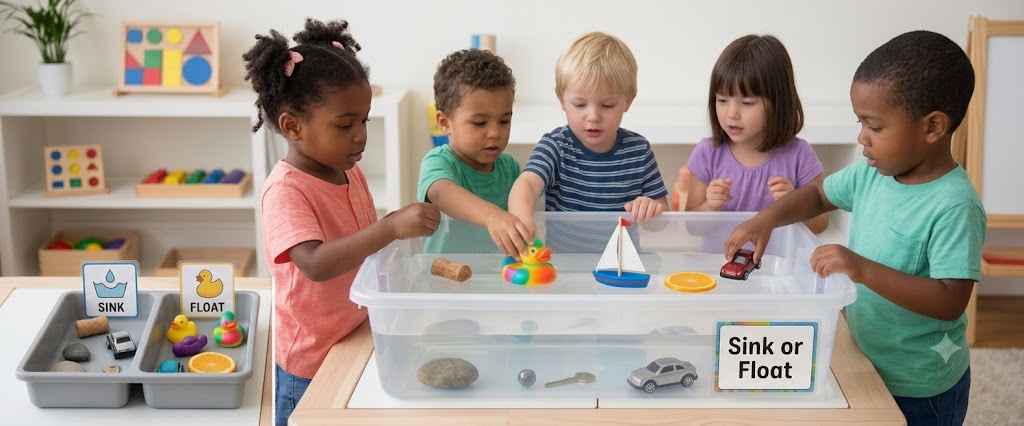
2. Sink or Float Sensory Bin (Buoyancy & Density)
It takes just 3 minutes to prepare, and all you need is a large plastic tub or a deep baking dish, warm water, and 5–6 waterproof household items like an apple, a metal spoon, a plastic toy, a cork, a wooden block, and a coin.
How to Do It at Home
First fill the tub or dish halfway with warm water and place it on a towel on the kitchen or floor, then set the mentioned objects in a pile next to the tub. Let the kid pick one object at a time and place it in water to see if it floats or goes inside.
Ask Your Child: “Does the object feel heavy or light for its size? What do you think? Will it float or sink?
The Simple Science: Objects only float if they are less dense than water or sink if they are denser than water.
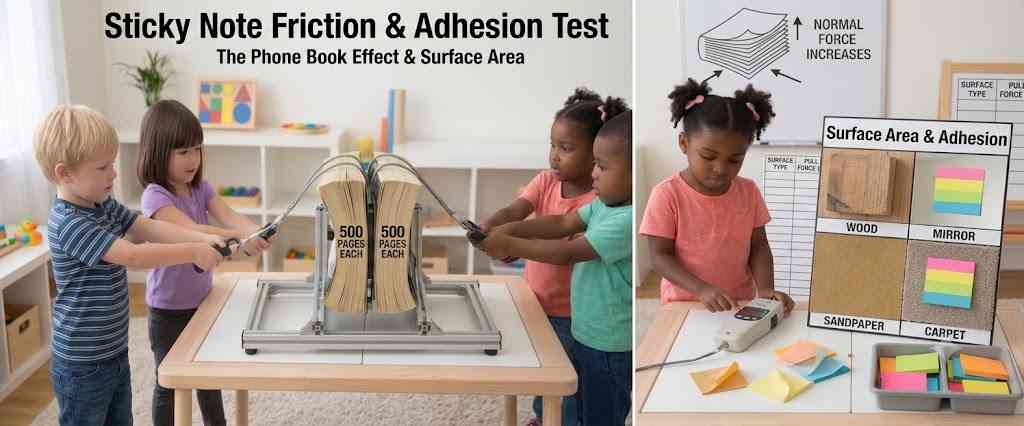
3. Sticky Note Friction & Adhesion Test
It takes a minute to prepare, and all you need is 1 pad of sticky notes and household objects like a wooden table, glass window, refrigerator door, stainless steel appliance, painted wall, carpet, or fabric couch.
How to Do It at Home
First give your kid a small stack of sticky notes, then let them press the notes onto each household surface. Let them pull the sticky note off each surface and notice which one peels easily and which one is not sticking.
Ask your child: Which surface do you think the note will stick to completely, or which one can’t it stick to?
The Simple Science: Sticky notes can stick easily to smooth and flat surfaces; however, if the surface is rough or textured, they can’t stick.
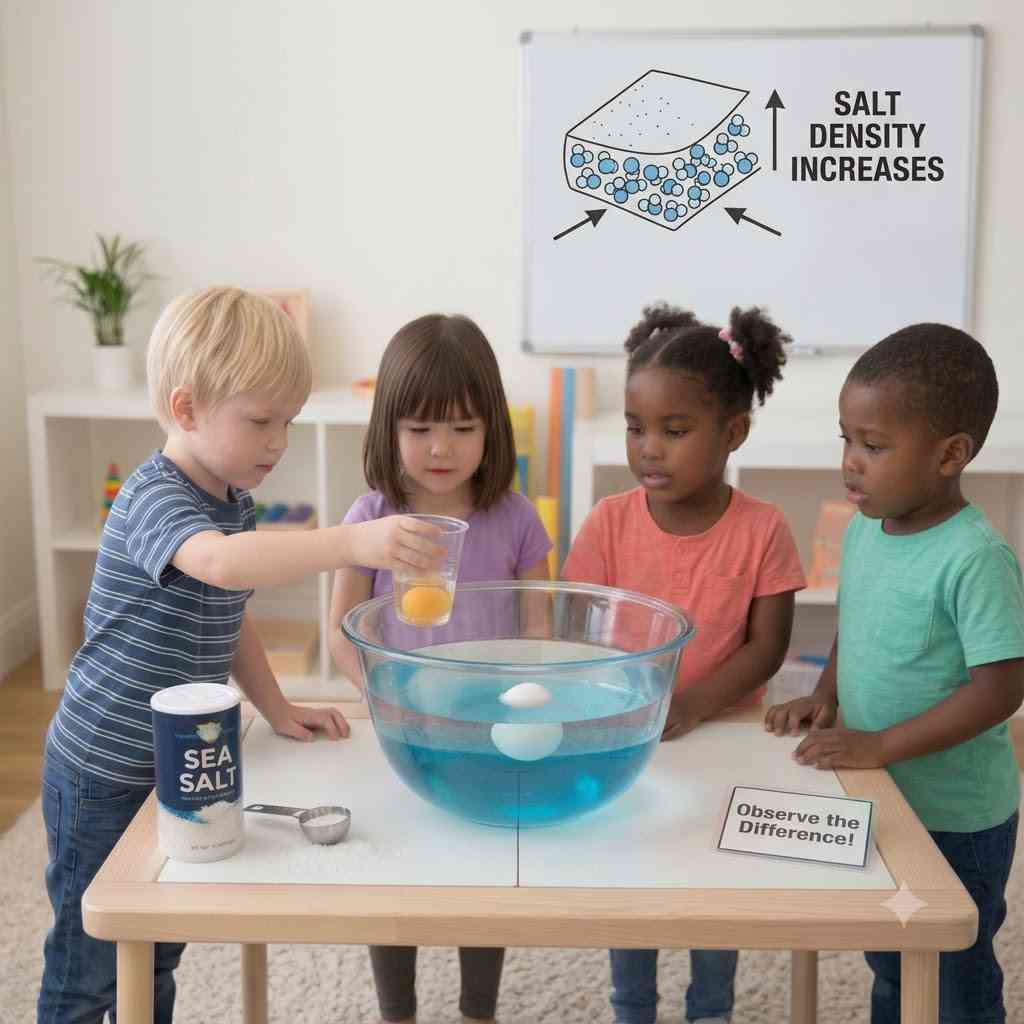
4. Saltwater Floating Egg Trick (Water Density)
It just needs 4 minutes, and all you need are 2 glasses, warm tap water, 6 tablespoons of table salt, and 2 raw eggs.
How to Do It at Home
First fill the 2 glasses with warm tap water to two-thirds full, then add 6 tbsp of table salt in one glass and stir until it dissolves completely; the other glass needs to stay the same with tap water. Add one raw egg in plain water, where it will sink, and one raw egg in saltwater glass, where it will float.
Ask Your Child: What can be the reason the egg sinks in tap water and floats in the salty water?
The Simple Science: When you add the salt in water, it makes the liquid denser, meaning heavier than a cup. The dissolved salt molecules pack tightly; that’s why it supports the weight of the egg.
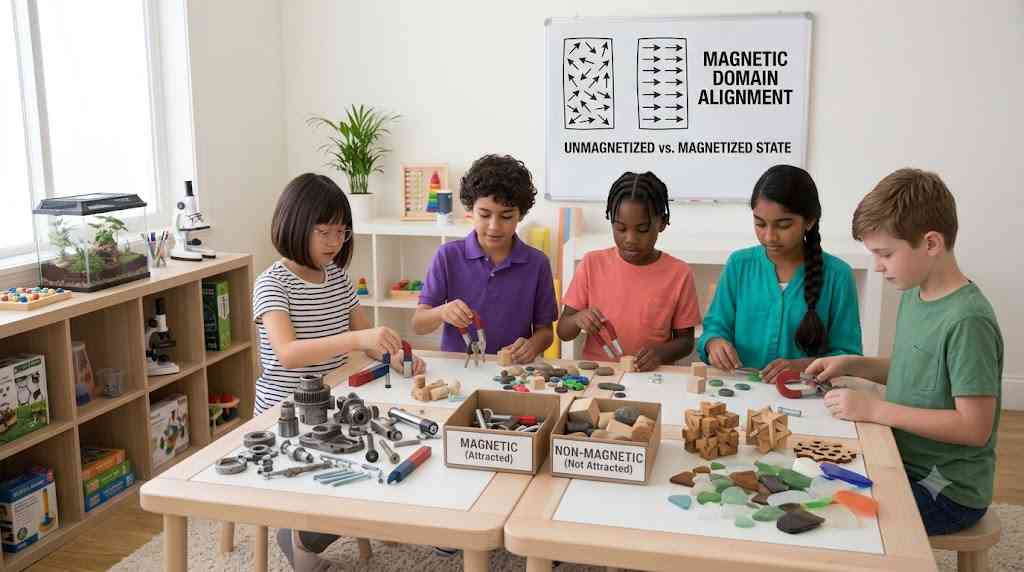
5. Magnet Hunt (Magnetic vs. Non-Magnetic Materials)
It just takes 2 minutes to prepare; all you need is 1 refrigerator or toy magnet and small collection of items like metal paperclip, plastic spoon, wooden craft stick, aluminum foil, and iron key.
How to Do It at Home
Give your child the magnet. Then set the test objects on a table or tray. Let them touch each object with the magnet to see if it sticks to or pulls toward the magnet. Separate the objects into two piles: one is for magnetic and the other is for nonmagnetic.
Ask Your Child: “Look at all the things that stuck to the magnet. What can be the reason?”
The Simple Science: When you keep a magnet near items that are based on iron, steel, nickel, and cobalt, an attractive magnetic field is produced. There is no field when the magnet is close to wood, plastic, paper, and aluminum.
Colourful Chemical Reactions (High Visual Impact)
Preschoolers learn more from vivid sensory feedback. The following are five activities that include everyday kitchen ingredients to make colorful and immediate reactions that look like magic in the eyes of 3- to 5-year-old kids.
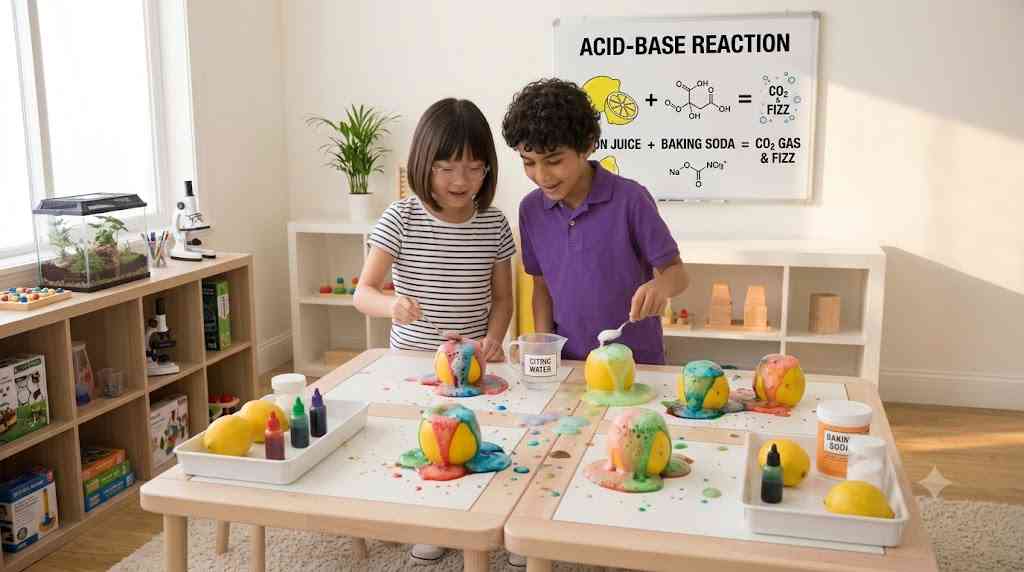
6. Fizzing Lemon Volcanoes (Acid-Base Reaction)
It takes 3 minutes to prepare, and all you need is 1 ripe lemon, 1 tbsp of baking soda, 2 drops of liquid food color, a drop of dish soap, a spoon, and a rimmed baking sheet.
How to Do It at Home
First slice the lemon from the bottom so it can stand on a rimmed baking sheet, then also slice the top half to show the pulp. Use a spoon to take out the center juice, then mash the pulp; it will release internal juices while keeping the outer rind intact. Add a drop of dish soap and 2 drips of food coloring into the center of the mashed pulp. Lastly, add 1 tbsp of baking soda at the top, then use a craft stick and stir the baking soda completely. You will see a reaction like lemon foam up and erupt in a colorful volcano.
Ask Your Child: “What happens when you press the spoon deep down into the sour lemon juice?”
The Simple Science: The citric acid in lemon juice reacts with baking soda to make carbon dioxide, which gets trapped in the dish soap, leading to a thick and fizzing foam.
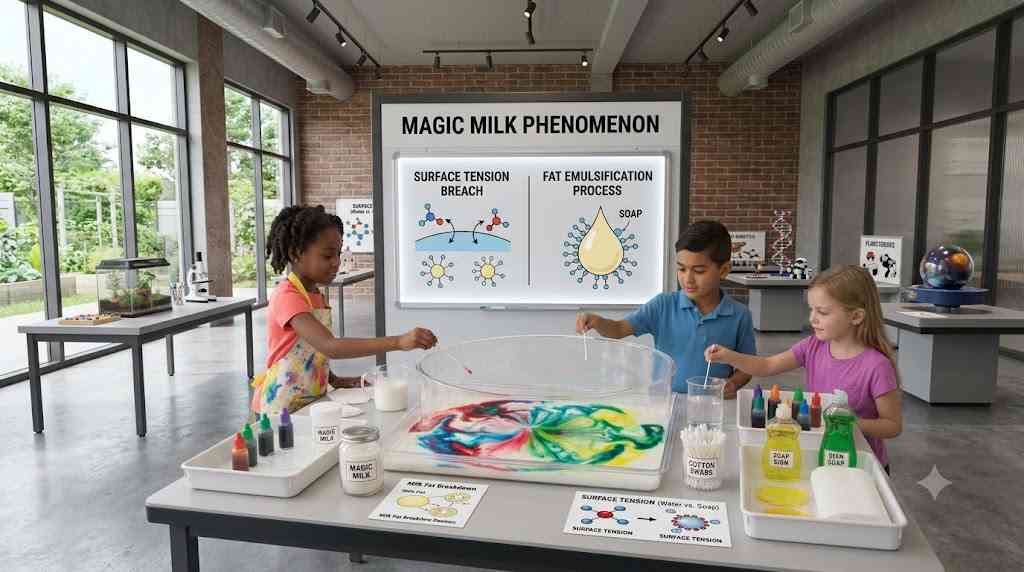
7. Magic Milk Colour Explosion (Surface Tension & Fat Emulsification)
It takes just 2 minutes to prepare; all you need is a shallow pie dish or a plate, 1 cup of milk, 3–4 different liquid food colors, 1 Q-tip, and 1 teaspoon of liquid dish soap.
How to Do It at Home
First add the milk into the plate and let it settle for 30 seconds, then add 2–3 concentrated drops of food coloring in the center of the milk. Make sure to keep the drops close together. Dip one end of a Q-tip into dish soap, then touch the soapy top in the center of food drops; don’t stir. Hold the Q-tip still and see colors burst outward.
Ask Your Child: Look at the colors from the cotton swab! What do you think soap is doing to the milk?
The Simple Science: The dish soap first breaks the surface tension of the milk while the molecules chase and attach to fat molecules in the milk, creating a swirl current that pushes the food coloring.
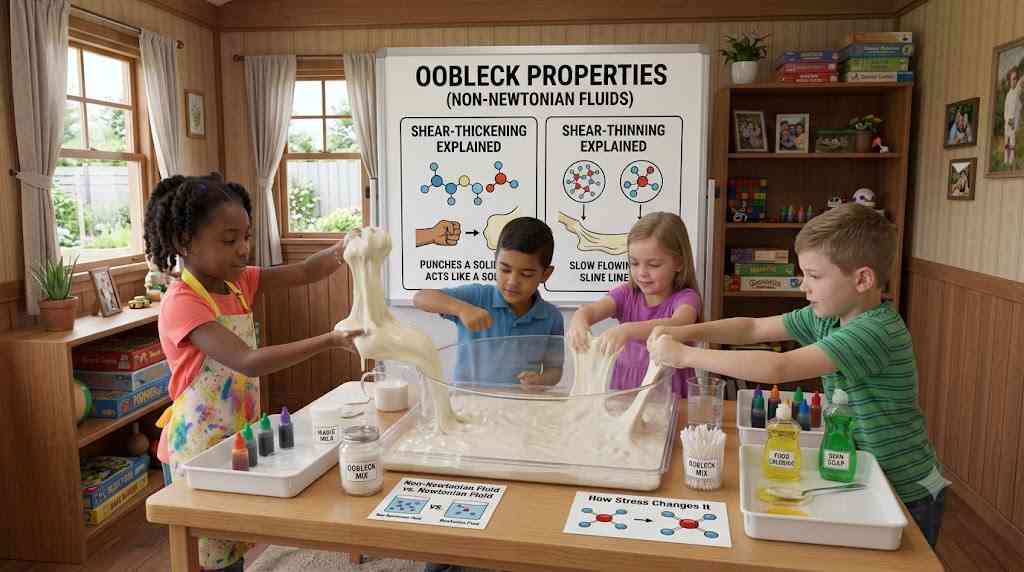
8. Oobleck Cornflour Slime (Non-Newtonian Fluids)
The preparing time just takes 3 minutes, and all you need is 2 cups of cornflour, 1 cup of water, food coloring (optional), and 1 large mixing bowl.
How to Do It at Home
Add 2 measured cups of corn flour into a large bowl, then stir a few drops of food coloring into 1 cup of water, and then add it to the corn flour. Use your hands to mix it until the powder is fully incorporated. To test the texture, squeeze a handful tightly into a ball. If it is solid, then it’s done; however, if it melts, put it back in liquid.
Ask Your Child: Does it feel like a hard rock when you squeeze it, or does it still stay liquid?
The Simple Science: Oobleck changes the viscosity based on pressure. The fast, hard pressure causes the cornflour to lock together, forming a solid.
9. Walking Water Rainbow (Capillary Action)
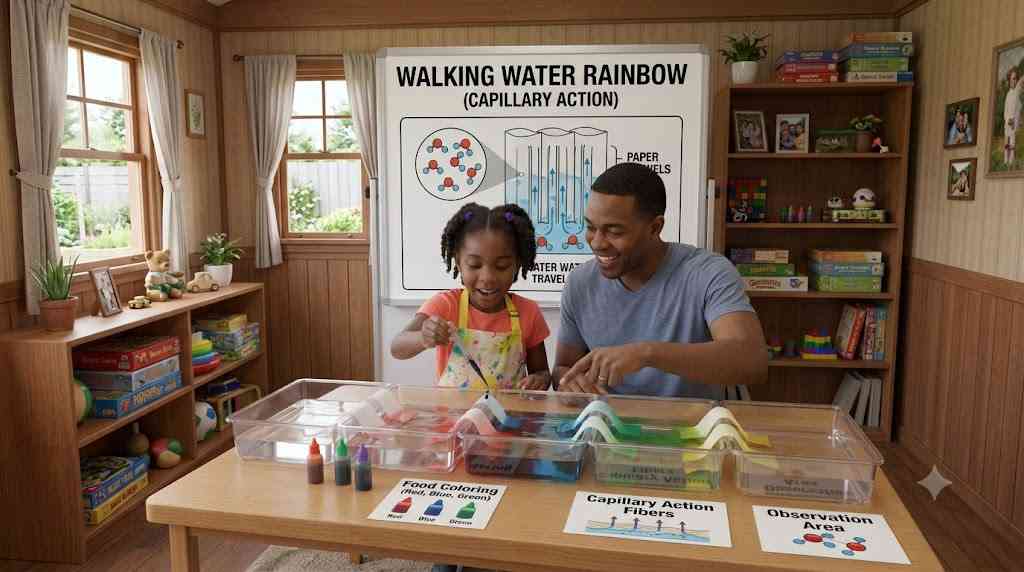
It takes just 5 minutes to prepare and 1 hour of observation time. All you need are 6 small plastic cups, water, liquid food coloring like red, yellow, and blue, and paper towels folded into 1-inch strips.
How to Do It at Home
First line up 6 plastic cups in a straight line, then fill the cups at 1, 3, and 5 three-quarters full with water. Leave cups 2, 4, and 6 empty. Add 5 drops (red food coloring) in cup 1, 5 drops (yellow) in cup 3, and 5 drops (blue) in cup 5.
Bend the paper towel strips and put them end-first into the full glass and one into the empty glass to make a bridge between them. Do the same with all 6 glasses.
Using towels to mix new secondary colors to make orange, green, and purple, you can check in every 15 minutes to see colored water going from the filled one into the empty cup.
Ask Your Child: What do you think can be a reason for water travelling? Is it gravity or something else?
The Simple Science: Well, the water is moving with the help of tiny gaps between paper towel fibers via capillary action, where it goes from one cup to another.
10. Oil & Water “Lava Lamp” Jar (Density & Polarity)
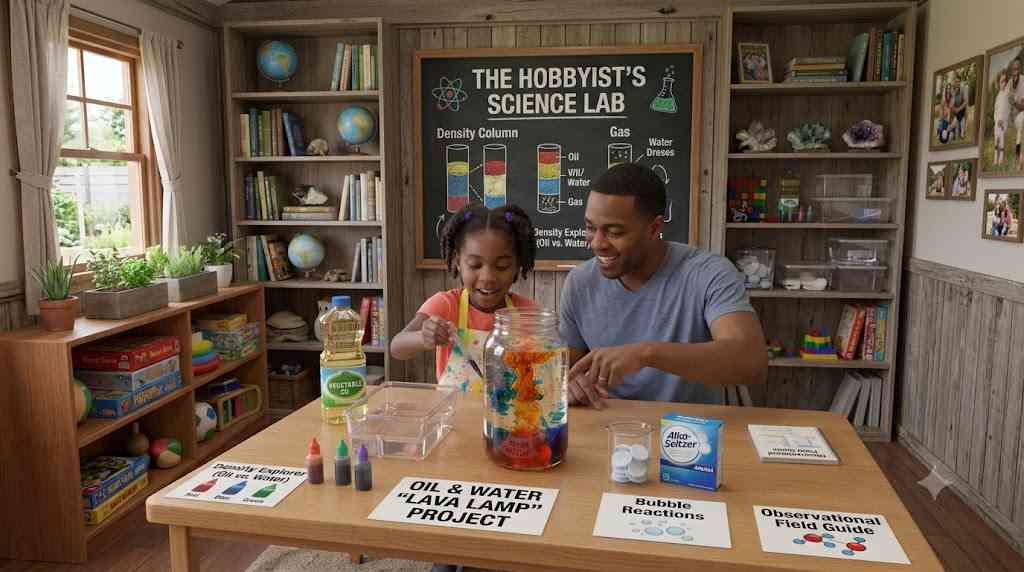
This takes just 3 minutes to prepare, and all you need is 1 glass jar or plastic bottle, 3/4 cup vegetable oil, 1/4 cup water, 4–5 drops food coloring, and 1 Alka-Seltzer tablet broken into quarters.
How to Do It at Home
First fill the glass jar three-quarters full with vegetable oil, then fill the rest of the jar with water. Make sure you leave 1 inch of space at the top of it to watch the water sink under the oil layer.
Drop 4 to 4 drops of food coloring in the jar and notice how the drops are passing from oil and don’t dissolve until they hit the water.
Drop one small piece of an Alka-Seltzer tablet into the jar; this will activate floating and lead to colorful lava bubbles that rise and fall.
Ask Your Child: What can be the reason the water stays at the bottom and oil on top?
The simple science: The main reason is water is denser than oil, which means they don’t mix because the water molecule is polar and oil is nonpolar, whereas the tablet creates carbon dioxide gas bubbles that lift colored water drops.
Weather & Nature Science at Home
Showing kids meteorological and environmental concepts at eye levels can help them to observe the natural world right outside their front door.
11. Shaving Cream Cloud in a Jar (Precipitation)
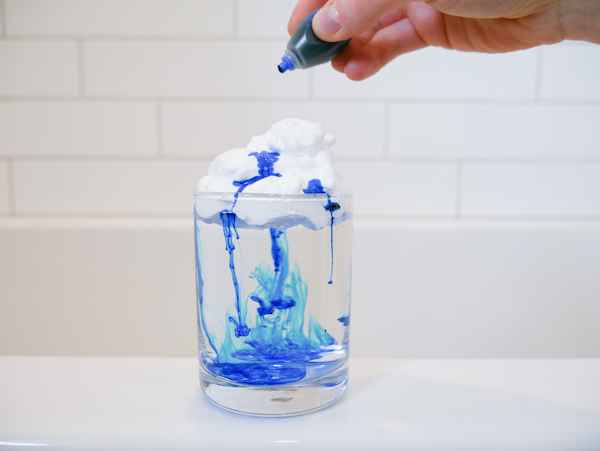
It takes just 2 minutes to prepare, and all you need is a glass jar, water, white shaving cream (foam style), blue food coloring mixed with a tbsp of water, and 1 small spoon.
How to Do It at Home
First fill a glass jar with tap water about three quarters full, then spray a 1- to 2-inch mound of white shaving cream on top of it to make a cloud. Fill the small spoon with the blue-colored water mixture and add it slowly to the cloud. You will see the color is breaking the cloud and going into the water like rain.
Ask Your Child: What will happen when the cloud in the jar is too heavy or full of blue water?
The Simple Science: When the clouds take more moisture than they can hold, gravity pulls the water down and leads to rain.
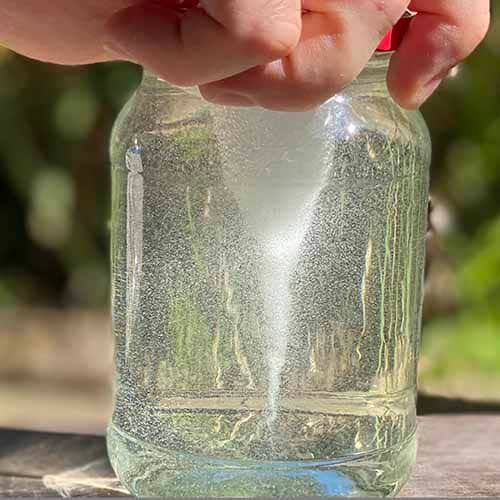
12. Tornado in a Mason Jar (Centripetal Force & Vortices)
It just takes 2 minutes; all you need is 1 glass mason jar having a tight lid, water, 1 teaspoon of clear dish soap, 1 tbsp of vinegar, and a pinch of fine glitter.
How to Do It at Home
First fill the jar with cold water about 1 inch from the rim, then add 1 tbsp of vinegar and dish soap in it. Add a small pinch of glitter. Screw the lid on tightly and grip the jar from the top in a circular motion for 10 seconds. Keep the jar on a flat table and watch a funnel vortex form in the center.
Ask Your Child: Can you see the spinning funnel in the middle? What shape does it make?
The Simple Science: When the jar gets swirled, it makes centripetal force, which allows the liquid to move toward the outer edges and makes a low-pressure central vortex similar to an atmospheric tornado.
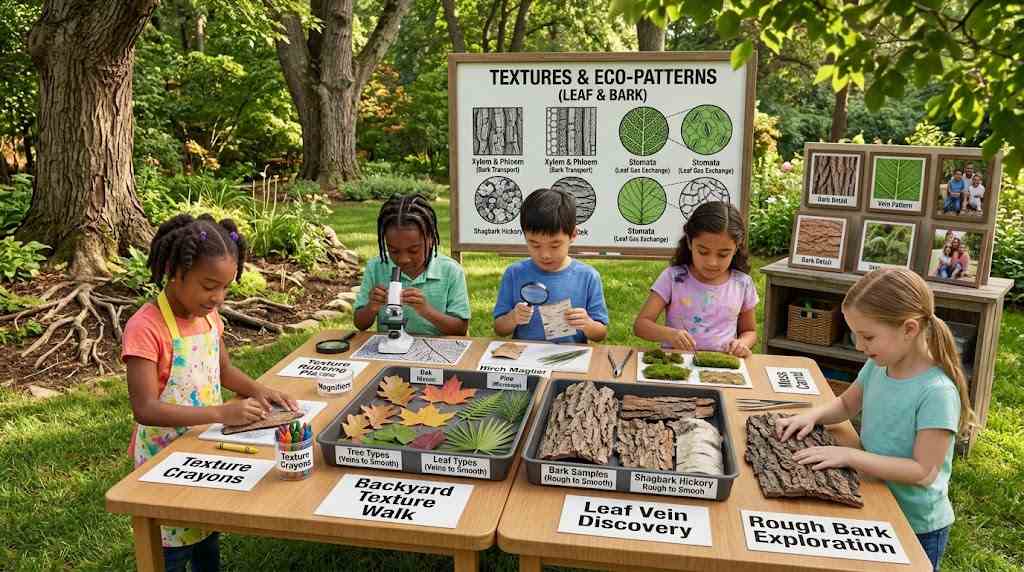
13. Backyard Leaf & Bark Texture Walk (Observation & Taxonomy)
It just takes 2 minutes, and all you need is 3 to 4 sheets of white copy paper, 2 to 3 dark crayons, and a small basket or tray.
How to Do It at Home
Take a stroll in a garden with paper and crayons, then pick 4 leaves that have vein patterns and place them flat on a hard surface under a sheet of paper. Now use one crayon to rub the paper over the leaf to get hidden veins and an outline.
Now hold the paper sheet on a tree trunk and rub the side of the crayon to get the rough, unique texture of the tree’s bark.
Ask Your Child: “How does this bumpy bark print feel compared to the smooth print of the leaf?“
The simple science: texture rubbings will reveal tactile surface variations and structural vein networks that provide water and nutrients to plants.
14. DIY Plastic Bottle Rain Gauge (Measuring Weather)
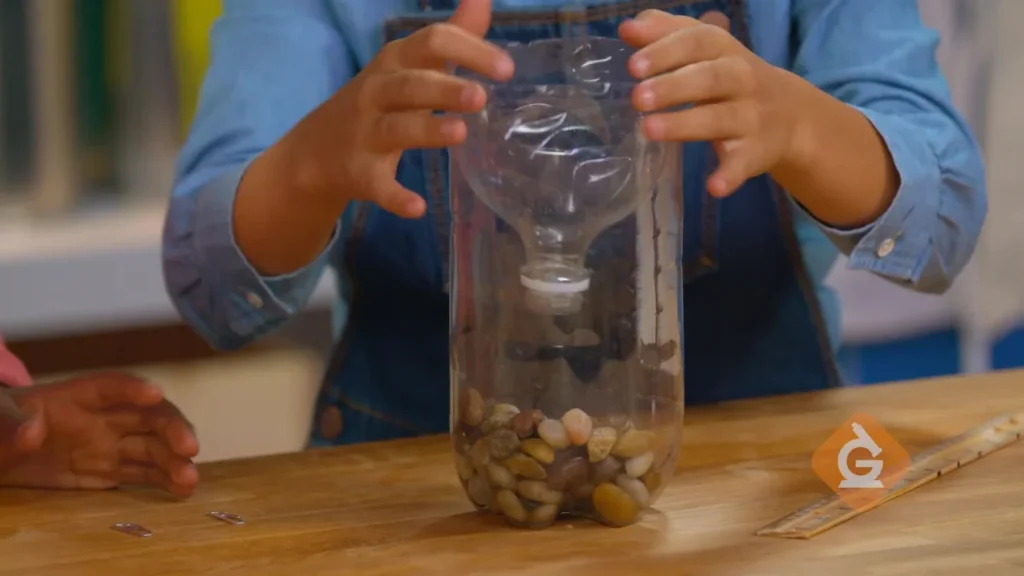
It takes 5 minutes to prepare, and all you need is 1 empty 2-liter plastic bottle, scissors, a permanent marker, a ruler, water, and small pebbles.
How to Do It at Home
First, cut the top third off a clean 2-liter bottle, then add small stones to the bottom of the bottle, and then pour enough water so the stones dip. Use a marker to mark 1-inch intervals from the starting water baseline up the side of the bottle.
Then use the cut-off bottle at the top upside down in the base like a funnel to catch falling rain and set the gauge outside in an open area before a rainstorm to measure the rainfall in the next 24 hours.
Ask Your Child: How many line marks did the raindrops get in after today’s rain?
The Simple Science: A rain gauge can collect the precipitation through a uniform funnel opening; this way, meteorologists can track the right amount of moisture over a time period.
15. Simple Plastic Bag Greenhouse (Germination & Humidity)
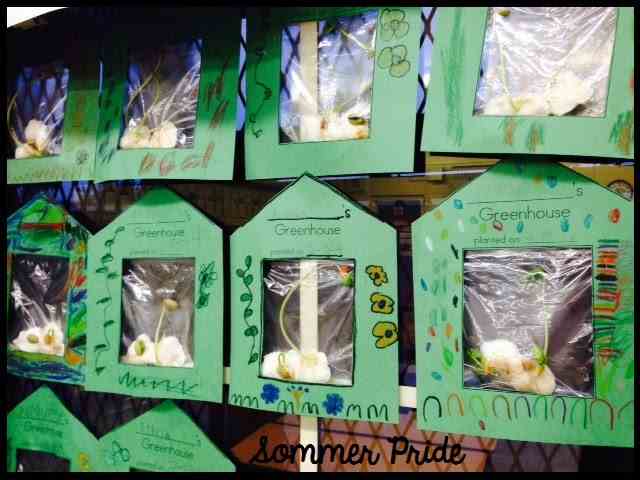
It only takes 3 minutes to prepare; all you need is 1 Ziplock sandwich bag, 1 paper towel, 3 to 4 dry bean seeds such as pinto, lima, or black beans, water, and painter’s tape.
How to Do It at Home
First fold the paper towel in half and dampen it in water so it can be moist; make sure not to wet it, then slide it flat in a Ziploc bag. Add 3 to 4 dry bean seeds on one side of a damp paper towel so they remain visible from the plastic. Zip the bag seal to lock both air and moisture, then use painter’s tape so the bag can attach to a window. Check it daily to watch how roots grow.
Ask Your Child: Did you notice any small change in bean seeds as compared to yesterday?
The Simple Science: The sealed plastic can easily trap the humidity and solar thermal warmth needed to create a microclimate where seed germination can take place without soil.
Light, Sound, and Motion Activities
Here are simple physical setups that turn invisible forces like light waves, sound vibrations, magnetic fields, and air currents into a visual experience.
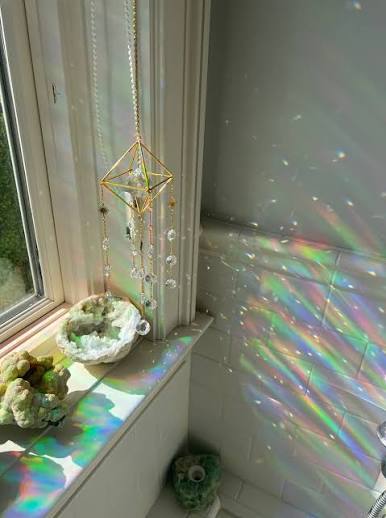
16. Prism Sun Catchers (Light Refraction & Spectrum)
It just takes 1 minute to prepare, and all you need is a crystal glass prism, a suncatcher pendant, or a small glass bowl of water, a window, and white paper or poster board.
How to Do It at Home
First place the white paper sheet on the floor or on a table where sunlight comes directly, and then hold the prism, crystal pendant, or glass bowl of water in the area where the sunbeam enters from the window. Rotate the crystal until a clear rainbow shows on that white paper.
Ask Your Child: “Can you point to all the colors hidden inside the bright sunlight on your paper?”
The Simple Science: Sunlight may look clear, but it is made from all the rainbow colors traveling at different wavelengths. When it passes through glass, these light waves come in visible colors.
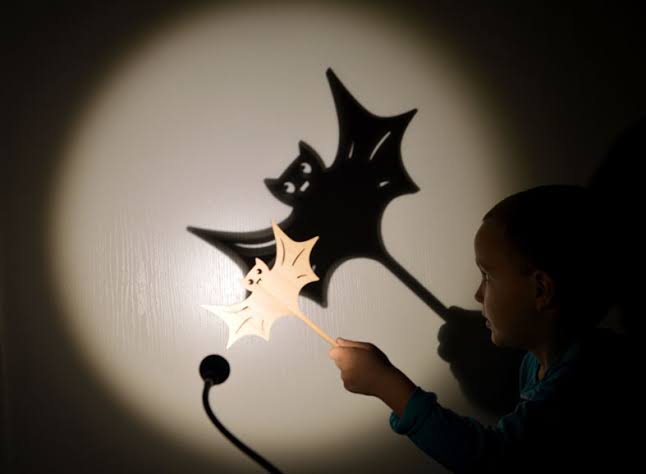
17. Flashlight Shadow Puppets (Light Blocking & Opacity)
It just takes 2 minutes to prepare; all you need is 1 smartphone light, a dark room that has a flat white wall, and various toys or cut-out cardboard shapes on craft sticks.
How to Do It at Home
First turn room lights off completely, then sit facing near the clear and light-colored wall. Set a phone flashlight or torch on a table that points straight to the wall from a few feet away. Hold toys or cardboard cutouts between these light beams and the wall to project dark silhouettes onto the wall surface. When you move the objects near to the light source, the shadow will become bigger, and when closer to the wall, the shadow becomes smaller and sharper.
Ask Your Child: What happens when you bring this puppet closer to the flashlight, or what happens when you place it at a distance from the light?
The Simple Science: As we know, light travels in a straight line, but when it hits an object that blocks the light beam, it causes a dark shape (shadow) on the wall behind it.
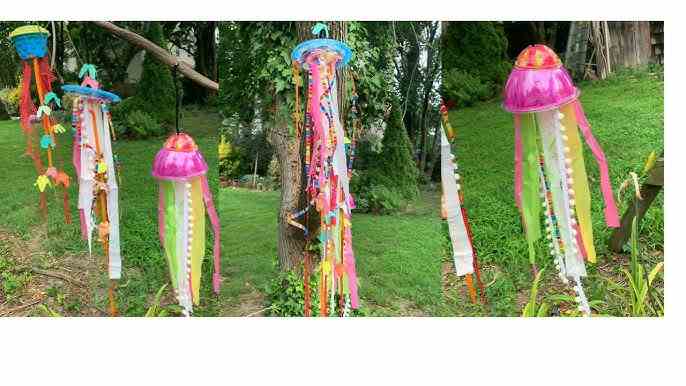
18. Recycled Plastic Wind Sock (Measuring Wind Direction)
It just takes 5 minutes to prepare, and all you need is 1 plastic container, a paper roll, 4–5 strips of lightweight ribbon or tissue paper, a hole punch, and yarn.
How to Do It at Home
First cut the bottom of the plastic tub to make an open tube, then tape the long strips of ribbons around the bottom edge of that tube. Punch two holes at the top of the tube, thread a piece of yarn, and knot it to form a hanging loop. Hang the windsock outside in a tree branch to observe the streamers blow to show the wind direction and power.
Ask Your Child: “Are the ribbons hanging straight down, or are they dancing sideways in the breeze?”
The Simple Science: Moving wind applies kinetic force on lightweight materials and pushes the streamers in the same direction as the wind.
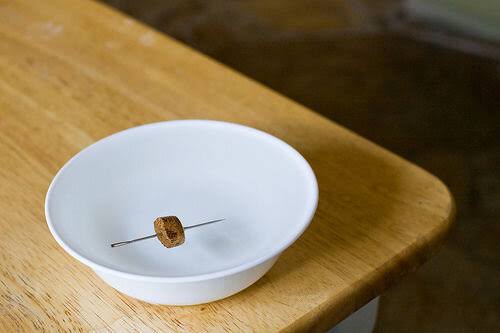
19. DIY Floating Cork Compass (Earth’s Magnetic Field)
It just takes 4 minutes to prepare, and all you need is 1 sewing needle, 1 refrigerator magnet, 1 slice of wine cork, and 1 bowl of tap water.
How to Do It at Home
First, take the bowl filled with water and place it on the table; then, stroke the point of a steel needle with a magnet in one direction for 20–30 times to magnetize the metal. Press the needle flat on top of the thin cork disc. Gently place that cork in the center of floating water in the bowl and watch it rotate slowly until the needles point straight to Earth’s north-south magnetic line.
Ask Your Child: “Watch the needle turn all by itself! Which direction is it pointing toward?”
The Simple Science: When a steel needle gets magnetized, it aligns the atomic domains, which allows it to rotate freely in water and align with magnetic field lines.
20. Sound Pitch Cups (Vibrations & Sound Waves)
It just takes 3 minutes to prepare, and all you need are 4 glass cups, tap water, and 1 metal spoon.
How to Do It at Home
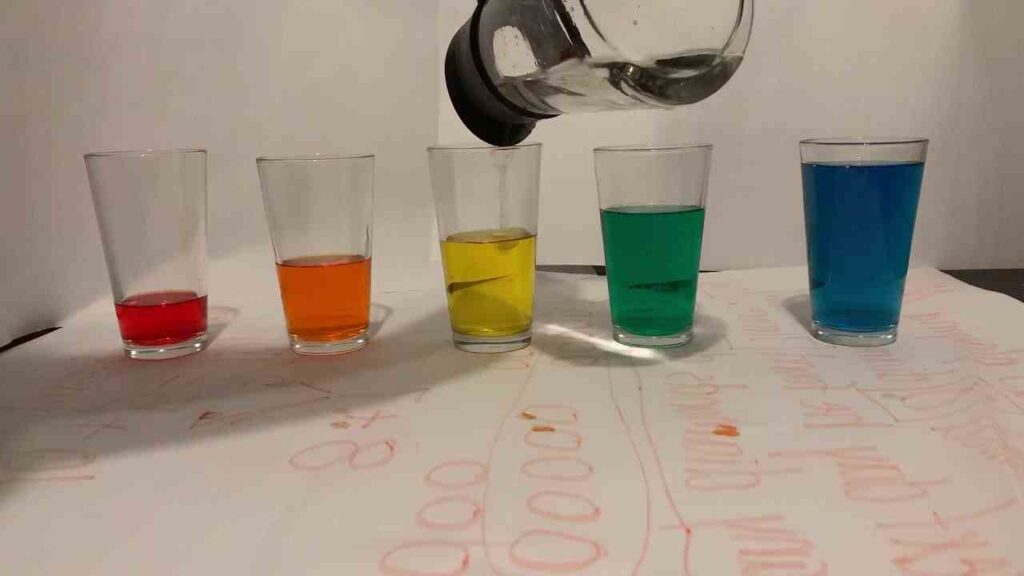
First put all these 4 cups in a line on the table, then leave the first cup empty and fill the second with 1/4 tap water, the third cup with 1/2 tap water, and the fourth with 3/4. Gently tap the side of each glass with a metal spoon and observe the cups will have different musical notes produced. Compare the high chime of the empty cup to the low tone of the filled cup.
Ask Your Child: Which glass has a high ringing sound and which has a low sound?
The Simple Science: When you tap glasses with a metal spoon, it creates sound vibrations, so the glass with more water has more mass, leading to a low sound, whereas the glass with less water has less mass, leading to a higher pitch.
Simple Physics & Building Challenges
Doing these engineering tasks at home helps children to learn the fundamental physical concepts such as gravity, balance, friction, structures, and static charges.
21. Paper Plate Bird Feeder (Habitat Observation)
It just takes 5 minutes to prepare, and all you need is 1 sturdy paper plate, 2 tbsp of peanut butter or sunflower butter, 1 cup of birdseed mix, a whole punch, and yarn.
How to Do It at Home
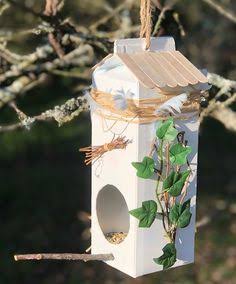
First punch 3 same-size space holes along the outer edge of a sturdy paper plate. Thread a 12-inch piece of yarn on all the holes, and tie the top ends together to make a hanging loop. Spread a layer of peanut or sunflower butter on the center of the plate, also sprinkle birdseed over the spread, and then hang the feeder outside on a tree branch to watch the local wildlife feeding patterns.
Ask Your Child: How many birds come and visit the feeder today? Were they the same or different ones every time?
The Simple Science: This small feeding station will allow the kids to see different birds from seasonal to unique species.
22. Ramp & Toy Car Speed Test (Friction & Inclined Planes)
It only takes 3 minutes to prepare, and all you need is 1 flat piece of cardboard, a stack of books, 1 small car toy, and many surface coverings like bare cardboard, kitchen towels, aluminum foil, and bubble wrap.
How to Do It at Home
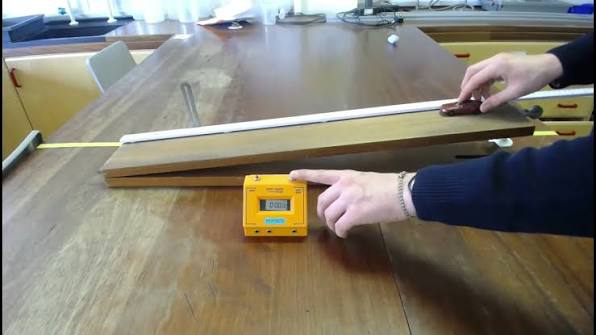
First, place a flat piece of cardboard against the stack of 3 books to make an inclined plane, then line up the car toy at its edge, release it, and measure the mark where it rolls along the flat floor.
To test the car toy, every time use different material on the cardboard ramp, like aluminum foil or bumpy bubble wrap. Compare each surface, like which one the car goes faster on or which one it is slower on.
Ask Your Child: Why does the car roll super fast on foil, and why is it slow on the fluffy towel?
The Simple Science: A resistance force known as friction takes place when two surfaces touch, where the smooth one makes low friction and a car travels fast. Rough or textured materials create high friction, which causes car travel to be slow.
23. Playdough Color Mixing (Color Theory)
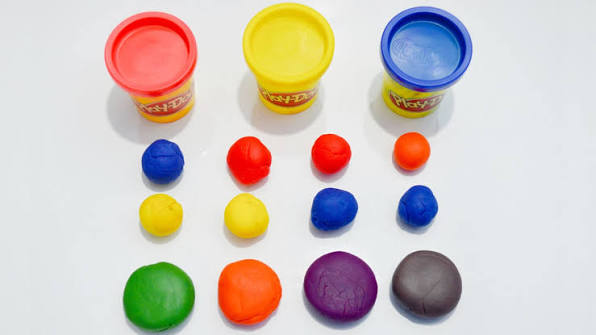
It takes only a minute to prepare, and all you need are 3 small balls of playdough in colors like red, yellow, and blue.
How to Do It at Home
Pinch off a small-sized piece from yellow and blue playdough, then squish and knead the two colors in your hand for 1 to 2 minutes. Watch both colors make a new color, green. Repeat the same process with other colors.
Ask Your Child: What new color would be made if we squeezed yellow and blue together in your hands?
The Simple Science: When you mix primary colors, they make a secondary one because when two pigments combine, they reflect different wavelengths of light back to our eyes.
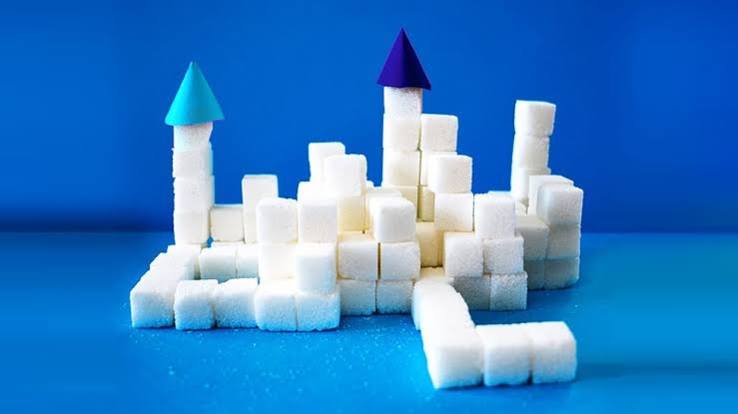
24. Building Sugar Cube Towers (Balance & Structure)
It takes only 1 minute, and all you need is a box of sugar cubes and a flat tray or table.
How to Do It at Home
First set out a box of sugar cubes on a flat surface, then challenge your kid to make the high tower possible by adding one cube over another until gravity tips it over. Next, show kids how to make a wide base by using 4 or 9 cubes side-by-side, and then stack layers on top to make a sturdier structure. Test how many cube structures they can make.
Ask Your Child: “Does your tower stay standing better when the bottom is wide like a pyramid or thin like a pencil?”
The Simple Science: Structures get stable when they have low gravity and a wide base that distributes weight among all cubes.
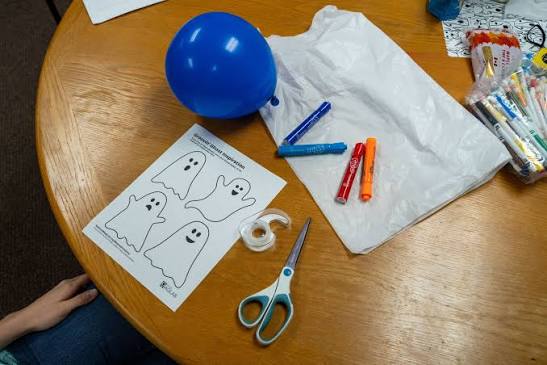
25. Static Electricity Balloon Dance (Charge & Attraction)
It just takes 2 minutes to prepare, and all you need is 1 latex balloon, paper cut into tiny 1/2-inch shapes like ghosts, butterflies, or simple squares, and a wool sweater or hair.
How to Do It at Home
Cut tissue paper into small 1/2-inch shapes and put them onto a flat surface.
Blow the latex balloon and tie the end securely. Rub the side of the balloon against dry hair or a wool sweater for 15 seconds so an electric charge builds.
Hold the charged balloon about 1 inch above the tissue paper shapes and watch how they jump off.
Ask Your Child: Why do you think they are sticking without tape?
The Simple Science: The electrical charge makes an invisible attractive force that pulls light, paper objects, and the balloon.
Medical & Safety Disclaimer: The activities and information in this article are intended for educational and entertainment purposes only and do not constitute professional advice or formal science safety training. Adult supervision is required for all experiments. Always check ingredients for potential allergies or irritants before starting any activity.
How to Talk to Preschoolers About Science (Parent Tips)
Teaching science to kids who are under age 5 doesn’t need any lectures but to preserve their natural sense of wonder and build critical thinking skills through activities. Because kids at this age learn from the things that are visible more.
Even if the experiment fails, it will be a success in the sense of learning. If the activity doesn’t turn into a success, kids treat it as a discovery. You can say that didn’t work as expected; however, let’s check what steps we need to change for a successful experiment. Here learning takes place.
What are the safest science experiments for 3- to 5-year-olds?
The safest experiments for 3- to 5-year-old kids are edible or non-toxic ones that can be done with everyday kitchen ingredients like baking soda, vinegar, cornstarch, food coloring, lemons, and water. At this age the kids explore everything by using all senses, including tasting. To keep the activities safe, avoid harsh chemicals in the house like laundry detergents, borax, bleach, or isopropyl alcohol in preschool setups.
Always use food ingredients like oil, milk, salt, and baking soda. Keep small objects like glass marbles, uninflated balloons, or small magnets under adult eyes so no choking hazard takes place.
Here is how to translate heavy scientific jargon into simple “kid language”:
| Complex Science Term | How to Explain It to a Preschooler |
|---|---|
| Density & Buoyancy | “Some things are super tightly packed and heavy for their size, so they drop down. Other things are light and airy, so they rest on top!” |
| Acid-Base Reaction | “When these two ingredients touch, they get super excited and make tons of tiny gas bubbles that foam up!” |
| Surface Tension | “The top layer of the water acts like a tiny, invisible skin holding all the drops together.” |
| Capillary Action | “The paper towel acts like a bunch of tiny drinking straws, pulling the water up and across!” |
| Non-Newtonian Fluid | “It’s a magic mixture! When you squeeze it fast, it feels like a hard wall. When you hold it gently, it melts like warm ice cream.” |
What basic supplies should I keep in my pantry for kid science?
Well, you don’t need to buy expensive kits to do these experiments at home. All things used in the home can easily be found in the kitchen and market, meaning you are always ready for a rainy-day activity. Use the following pantry staples:
- Baking soda
- White distilled vinegar or fresh lemons
- Cornstarch
- Liquid food coloring
- Vegetable oil or baby oil
- Dish soap
- Table salt
- Clear carbonated water / seltzer
Low-Cost Tools & Hardware
- Clear plastic cups or jars (mason jars or recycled food tubs work great).
- Medicine droppers or pipettes
- Q-tips and cotton balls
- Paper towels
- A deep rimmed baking sheet or plastic storage bin
- 1–2 strong refrigerator magnets
- Magnifying glass
Complete 7-Day Weekly Science Schedule by Kid’s Age
| Day & Activity | Focus Area & Example | Time by Age |
|---|---|---|
| Monday Directed Experiment | Kitchen pantry science (e.g., Dancing Raisins) |
3 Yrs: 3–5 mins 4 Yrs: 5–8 mins 5 Yrs: 10 mins |
| Tuesday Rest / Free Play | Unstructured play (no formal experiment) |
Rest Day (All Ages) |
| Wednesday Nature Observation | Outdoor collection / Weather tracking | 3 Yrs: 3–5 mins 4 Yrs: 8–10 mins 5 Yrs: 12–15 mins |
| Thursday Directed Experiment | Visual chemical reaction (e.g., Fizzing Lemons) |
3 Yrs: 3–5 mins 4 Yrs: 5–8 mins 5 Yrs: 10 mins |
| Friday Sensory Exploration | Open-ended hands-on play (e.g., Oobleck Slime) |
3 Yrs: 5 mins 4 Yrs: 10–12 mins 5 Yrs: 15–20 mins |
| Saturday Outdoor Nature Walk | Backyard texture rubbing or garden check | 3 Yrs: 5 mins 4 Yrs: 10 mins 5 Yrs: 15 mins |
| Sunday Rest / Free Play | Buffer day to prevent routine fatigue | Rest Day (All Ages) |
References and Sources
- U.S. Department of Education: Read the official parent guide on Helping Your Child Learn Science for practical tips on encouraging scientific thinking at home.
- NASA STEM at Home: Explore hands-on activity ideas and early engineering concepts on the NASA STEM Engagement for Families portal.
- National Science Foundation: Discover research on early childhood learning at the NSF Science & Engineering Education resource hub.
- U.S. Consumer Product Safety Commission: Check safety standards and material guidelines via the CPSC Safety Education & Toy Safety Guides.
